SEEDS & BULBS
SEED STARTING FOR BEGINNERS
So, you’re done with your planning, collected your materials, and timed your planting. Are you ready to get your hands dirty?
Well, let’s get growing!
(Still need to plan? Check out Planning Your Seed Starting for our tips and tricks. Note: The information below is regarding sowing your seeds indoors to be transplanted outdoors, rather than direct sowing outdoors.)
Sowing Your Seeds

Step 1)
Moisten your growing medium so the entire mix is slightly damp. Your water should be thoroughly mixed in, but your soil should not be so wet that it is soggy.
Step 2)
Fill your containers or flats with your soil, pressing down slightly or tapping the tray as you go to ensure there are no air pockets.
Step 3)
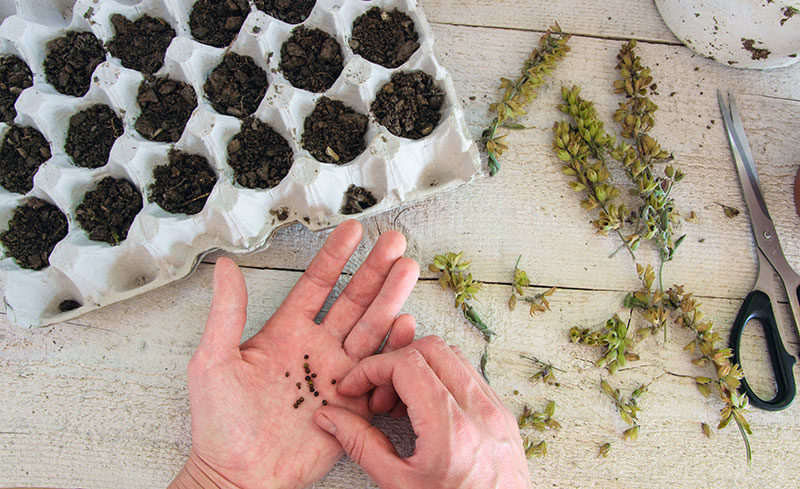
Make small holes in each cell for your seed. You can use your finger, a pencil, chopstick, etc. Be sure to check the recommended planting depth on your seed packet as this will vary by variety.
Step 4)
Drop one or two seeds into each hole. If your seed has a low germination rate, add two or three seeds per hole so you aren’t wasting tray space.
Step 5)
Cover the tray with a very fine layer of your seed starting mix, so the seeds are barely covered. Do not press down on the surface at all once your seeds are placed. You can also use a layer of vermiculite instead, if your seed variety prefers it (a quick Google search should tell you).
Step 6)
Make sure you label your tray with the variety planted and date of sowing so you can keep track of what's where. You can also hold onto your seed packets for reference throughout the season as well as they are full of information!
Step 7)
Set your freshly sown tray or container into about an inch of water to let it absorb. Remove it once the surface is evenly moist.
Step 8)
Cover with your dome, place your tray into your lighting setup and you’re done!
Germination & Seedling Care

Now that your seeds are planted, the countdown is on before the little seedlings begin poking through. During this process, your job is to keep babying these little guys for optimal success! Be sure to check your seeds daily.
Light
Most seeds don’t require light for the process of germination, but as soon as you see the first signs of growth, they need to be placed directly in a south facing window, or ideally under artificial light. Without adequate light, seedlings become tall and leggy - a condition that is almost impossible to correct and one that can cause poor plant health and yield later on. If you are using artificial light, you can either use full spectrum fluorescent bulbs or use a combination of warm and cool-toned fluorescents. The bulbs should be placed very close to the plants (1” - 3” away from the foliage), and should be left on for 14 to 18 hours per day. As your seedlings grow, be sure to raise the height of your lights to accommodate!
Temperature
Many seed packets will list an optimum temperature for germination and it is important to note that this is the optimum temperature of the soil, not of the air. Some seeds will prefer lower temperatures, while others will prefer it nice and warm. To provide additional warmth, we recommend using a heat mat until the seeds germinate! Once they have, most seedlings grow best if the air temperatures are around 70°F. Be sure to keep an eye on your temps because if your soil is too cold during germination, your seeds may be slow to germinate or not germinate at all. If your air temperature is too warm after germination, your seedlings will grow too fast and become leggy.
Moisture
There are two key elements when it comes to moisture levels with your seeds: water content within the soil and humidity levels within your seeds’ environment. To water your seeds and seedlings, the simplest method for beginners is to use bottom watering. Depending on your setup and the containers you are using, you can fill your sink, tub, or other vessel with an inch or two of water and rest your seedling containers in them. When you feel the surface of the soil is moist, dump the excess water and let the container drain. As young seedlings cannot store water for long, they require more frequent watering than you may think. Don’t be afraid to water multiple times a day if necessary (this will vary based on the amount of light your seedlings receive) as it is better to water with small amounts more often than to drown them once a week. At the same time, excess water in the soil can cause root rot, stem root, fungus growth, and increase the likelihood of disease, so make sure your soil is drying out slightly before you water again.
In regards to your environmental humidity, we highly recommend using a plastic seedling dome to retain moisture, both in the air and the soil! This way moisture is kept within your seeding system, which will increase your germination rate. Once your seeds have germinated and you see the first signs of growth throughout the whole tray, you should remove the dome to increase airflow around the seedlings.
Fertilizer
Once your seedlings start to develop their second set of true leaves, you can choose to start feeding them! Using a “transplant fertilizer” is recommended to encourage strong root growth, and be sure to choose a water soluble or liquid form (rather than granular) to ensure the nutrients are available to the plants immediately. Young seedlings are very tender and cannot tolerate a full dose of fertilizer so ensure to dilute to ¼ of the recommended dose on a weekly basis.
Thinning
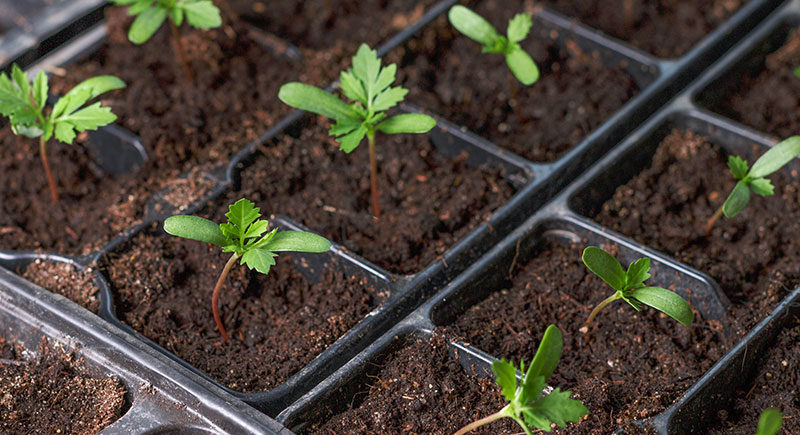
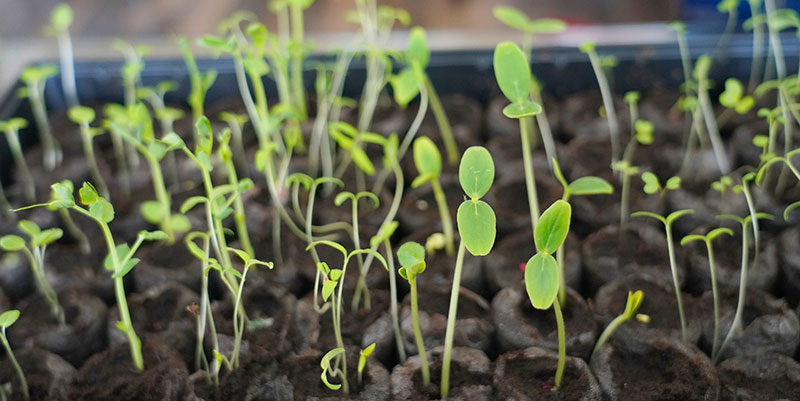
If multiple seedlings come up per cell, it is important to “thin” them until there is only one left in each. This ensures that your plants aren’t competing for water and nutrients and it should be done after the first set of true leaves appear. To thin, choose the strongest looking seedling per cell to keep and simply cut any excess seedlings off at the base of the stem.
Hardening Off
Once the weather has warmed up and you are past the last frost date in your area, you can start to “harden off” your seedlings by gradually exposing them to the great outdoors. Until now, they have been pampered with warm temperatures, plenty of light, and consistent water. The weather outside is not so kind, especially in the spring. At least one week before you plan to transplant your seedlings into the garden, begin reducing the amount of water and fertilizer they are receiving slightly. Starting on a warm, preferably cloudy day, place your plants outdoors in a sheltered area, starting with one hour and adding another hour to their time outdoors every day. After the week is over, your seedlings should be spending at least 7 hours outside and they are ready to transplant!
Transplanting

Depending on your species, your sow date, and your last frost date, you may have to transplant your seedlings into a bigger container inside first, then transplant them outside. Many times, however, you will be able to just transplant straight out to your garden after the last frost in the spring. When handling tiny seedlings, grasp them by their roots at the base of the plant, just below soil level, or by the soil itself if it is sown in small cells. The less you rip and tear, the better your plants will survive the move. In their new home, plant your seedlings at the same depth as they already were, with the exception of tomatoes. When transplanting tomato seedlings, you can remove all but your top few leaves and bury the stem. New roots will form along any part of the stem that is under the soil, thus drastically increasing the size of your root system and creating a stronger plant that will produce higher yields.


