SEEDS & BULBS
PLANNING YOUR SEED STARTING
Sowing seeds but don’t know where to start? If this is your first year, the key is to start with easy, reliable species to gain some confidence and momentum. Pairing that with some tips and tricks, you can have a successful first year and hopefully many more!
Understanding the Lingo

Germination
The beginning of growth of a seed
Seedlings
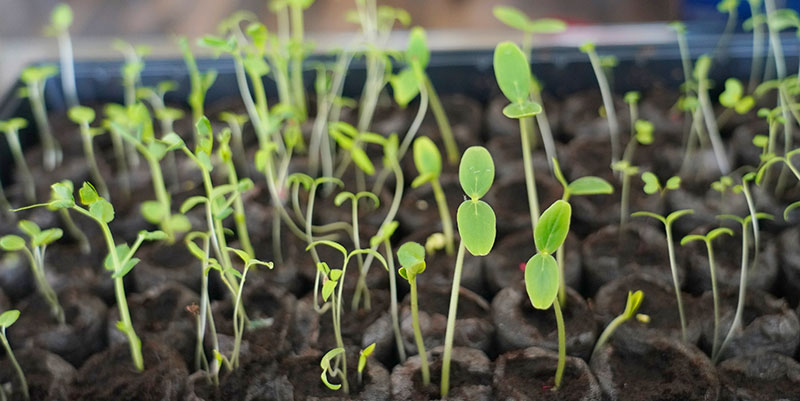
A young plant, typically raised from seed rather than cutting
Days to Maturity
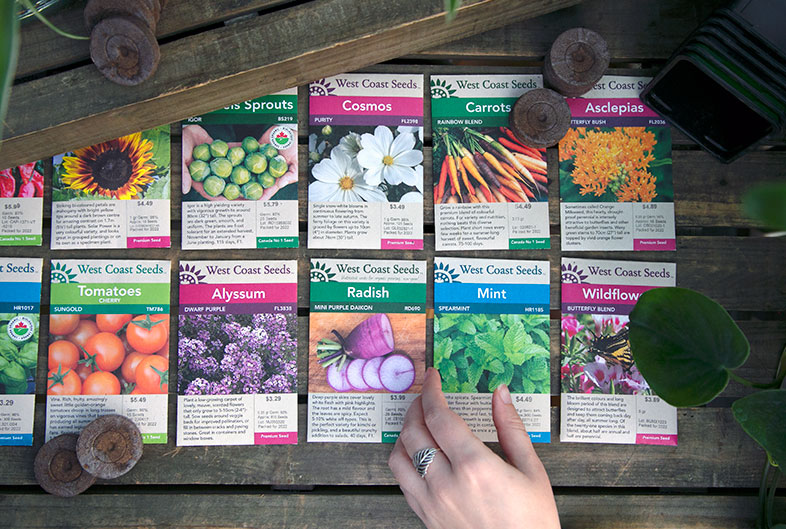
The average number of days between sowing and harvest or flowering; this number varies depending on species and variety, and is usually found on the seed packet or in your supplier’s seed catalogue or on their website
Germination Rate
The rate at which your seeds are likely to germinate; if the germination rate is lower than 80%, it is best to plant 2-3 seeds per cell
Average Seed Life
The amount of time your seed is likely to survive without being planted; the older the seed, the lower the germination rate; you can perform a water test to determine if your older seed is still viable - let your seeds soak in water and any that are still floating after 15 minutes should be thrown away, while any that sink can be dried and kept
Open-Pollinated
Varieties that can be self-pollinated while remaining true to species, with the same characteristics as the parent plant if not cross-pollinated; can also be cross-pollinated, though plant characterics will vary based on what varieties are crossed; if you are planning on collecting your own seed at the end of the season, be sure to choose seed that is open-pollinated
Hybrid (F1)
Varieties that have been selectively bred by crossing two parent-varieties extensively; highly uniform characteristics and often have improved traits such as stronger growth, higher yield, improved reliability, etc.; seed produced at the end of the season will not be true to the parent plant’s characteristics therefore is not ideal for collecting
Heirloom
Older, open-pollinated varieties of seed with a long-standing heritage; passed down through generations to maintain seed diversity; generally considered varieties bred prior to 1945
GMO (Genetically Modified Organism)
Seeds that have been genetically altered using genetic engineering; the modifications can be used to improve pest and disease resistance, increase drought tolerance, delay the ripening process to allow for transportation and increased shelf-life, and more; only 5 GM crops are grown in Canada (canola, corn, soy, alfalfa, and sugar beets) and GMO seed is not available to the general public as it is only used for large crop production
Pelleted
Seeds coated with clay to make them easier to handle; used for some of the smallest seeds such as carrots, onions, and lettuce; can decrease the average seed life so pelleted seed should be used the year it is purchased
Average Last Frost Date
The average date when it is expected that the air temperature will no longer drop below freezing; considered the safe date to begin transplanting tender plants outdoors; in Ajax, ON, the average last frost date is May 11th - May 20th (commonly considered Victoria day weekend)
Average First Frost Date
The average date when it is expected that the air temperature will start to drop below freezing. In our region, Ajax, ON, the average first frost date is October 11th - October 20th
Direct Sowing
Planting seeds directly into a field or garden; note, not all plants should be direct sown
Transplant
The process of moving your seedling from its current container to another container or the garden
Hardening Off
The process of slowly exposing your seedling to their final growing environment (including temperature, light conditions, wind, etc.) in order to limit the shock on seedlings that were started in a controlled setting
Step 1: Do Your Research

When you first start thinking about starting plants from seed, consider where they will live once they are mature plants. Do you have the space for containers? Is the soil in your garden beds light enough to grow root vegetables? Does your space receive enough sunlight to produce a good yield on your veggies? Do you have access to infrastructure if the plants you want to grow are vines or need staking for support? To set yourself up for success, start by being realistic with what your outdoor space can handle and choose what to grow based on facts first! Make a list of what you’d ideally like to grow, calculate how much space you have available, and place your items in priority order if you don’t have enough space for everything. If this is your first time starting from seed, here are some easy species that are quick to germinate to get you started:
- Basil
- Beans
- Coleus
- Cosmos
- Marigolds
- Peppers
- Tomatoes
- Zinnia
Step 2: Time Your Planting

Timing your sowing correctly is key to healthy, mature plants later. Generally, there are two different ways that you can sow your seeds: direct sowing outdoors or sowing indoors and transplanting outside later. In order to determine which option works best for you and the type of seed you are growing, consider the average last frost date in the spring and the average first frost date in the fall. The number of days between these two dates gives you the length of your outdoor growing window. If you are hoping to direct sow, your days to maturity must be shorter than your outdoor growing window.
On the other hand, if your days to maturity is greater than your growing window, you should be starting your seeds indoors before your last frost date. You could also choose to start many varieties indoors ahead of time as an effort to extend your harvest season. For example, basil should be sown indoors 6 weeks before last frost or direct sown outdoors after last frost. The amount of time before will vary by the variety you’re growing so it is best to look up the particular species to determine your exact timing. If you start too early, your plants will be suffering by the time it’s safe to transplant them outside. If you start them later, you shorten your window for harvesting veggies or enjoying your blooms. It is best to push your seed starting date later rather than earlier if you are unsure!
If you plan to start more than a packet or two of seeds, consider using a calendar to map out what to sow each week, marking down your frost dates and counting backwards.
Step 3: Choose Your Materials
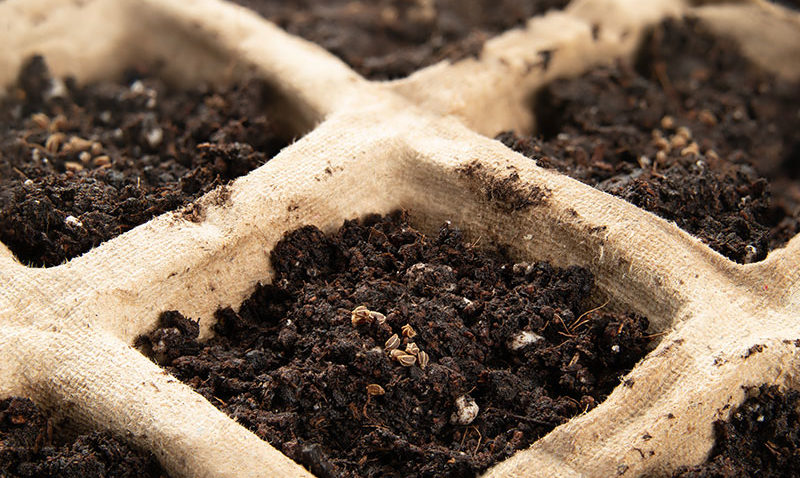
Standard seed starting kits include three pieces: a solid drainage tray, a cell pack layer that rests within the tray to hold your soil and seedlings, and a humidity dome. You don’t need to have all three and can always use alternatives, but the set is easy to use if you’re new to the process and is not expensive to purchase. It will also produce the most uniform results. When picking your growing medium, choose a soilless mix specifically created for seed starting, which should include additives such as sphagnum peat moss, coconut husk fibre, and/or perlite.
Depending on your indoor seeding space, grow lights and heat mats may be worth your while to ensure you are producing strong, healthy seedlings. Remember, the stronger your seedlings are while they are young, the stronger the mature plant will be in the garden. By the same token, if your seedlings are weak and leggy when they are first started, they will be far more difficult to transplant and take care of later in the season, and will even produce less blooms or vegetables at maturity.
If you are planning to direct sow all your seeds, your infrastructure needs are much less, if any. A hand trowel, a good pair of gloves, and maybe some kneelers is all you really need. Though no matter how you’re sowing, be sure to label well!


